Incubator Maintenance: How to Care for Your Incubator


To maintain an optimal environment for cell growth, an incubator provides the correct amount of carbon dioxide, accompanied by constant temperature within a humidified atmosphere. Therefore, it is essential that your incubator is properly maintained and cared for to ensure it continues to function as required. In this guide, we will share some effective ways to care for and maintain your incubator.
The setup process:
Once your new incubator has been purchased, you need to start thinking about the installation process. For gassed CO₂ incubators, it is important you perform a risk assessment. It is recommended that you utilise a gas detection system in your laboratory, alarming when an unsafe concentration of gas has entered the lab. Additionally, the incorporation of a ventilation system will also help maintain normal air exchange during critical levels. Furthermore, by ensuring gas cylinders are properly labelled and stored, this helps reduce the risk of a potential accident or mix up of gases. With regards to the incubator itself, the tubing connecting it to the gas lines should be able to cope under the desired pressure. The tubing should also be checked for any damage, as a leakage in CO₂ can cause suffocation if the air concentration is too high.
Below are some tips to consider when installation and setting up your new incubator:
When deciding on a location for your incubator, you should avoid placing it in either direct sunlight, near vents, ducts, or near the exhausts of hot/cold generating equipment. These locations can negatively affect chamber conditions. Moreover, you should follow the manufacturer’s specifications and instructions, as this can vary by make and model. Above all, it is crucial the incubator is placed in location which allows it to maintain a stable temperature of 37°C.
Do not place your CO₂ incubator on the floor. You should use a base with castors. This will enable easier access, movement, and cleaning. You are also keeping it away from dirt and dust that can accumulate on the laboratory floor.
When positioning your incubator, ensure the doors of unit have enough room to open fully. You should also ensure there is access to the CO₂ sampling port, or any other ports for that matter. This is particularly relevant if you are planning to use an external gas analyser to measure CO₂ concentration.
Relating back to the importance of the correct tubing for your incubator, you should ensure you are adhering to the specification and setup recommended by the manufacturer. This can vary by make and model, and so it is important to check carefully. The gas used should be high quality (99.5% and above), and in some cases, medical grade gas must be used.
Although your incubator may appear clean, you should still appropriately disinfect and sterilise its components. Begin by initially cleaning the incubator’s interior shelves and chamber equipment. Proceed by installing all internal components, ensuring your incubator is placed on a level surface. If your incubator is not level when placed on its base, adjust the feet of the base or the base itself, according to the manufacturer’s instructions. If your new incubator features an automatic self-sterilisation program, you should run the program at this point in the installation process. Then fill the water tray with warm, sterile, and distilled water, adjusting the program set points if necessary. Leave your incubator running for a minimum of 2 hours, preferably overnight, to enable conditions to stabilise. Once this has been achieved, your new incubator is now ready to use.
Best practices to follow when handling and cleaning your incubator:
To reduce the risk of contamination, only handle your incubator with fresh or disinfected gloves. The internal organisation of your incubator also plays a major role in maintaining optimum conditions. You should ensure your contents are properly organised to reduce the length of time that the incubator doors are left open. For example, it is a good idea to use dedicated incubators for the following reasons: the separation of cell lines and primary cells, different cell lines and separate shelves for different operators. Not only will the temperature inside the incubator be affected if the door(s) are left open but there is also an increased risk of airborne microorganisms entering the chamber.
The importance of adhering to a cleaning schedule:
Daily: Inspect the contents of your incubator, if any spills occur, immediately disinfectant them with 70% ethanol or isopropanol. It is better to wipe than spray your disinfectant (we recommend and supply the Oosafe product range).
Weekly: Empty the water tray, disinfect the tray using 70% alcohol. Once the tray has been cleaned, fill it again with fresh water (preferably sterile distilled water).
Monthly: Fully empty the incubator. Using a lint free cloth, clean the interior of the chamber with soapy water and finish by rinsing with water. Again, wipe the surfaces with 70% alcohol. The Oosafe disinfectant wipes are great at reaching all corners and angles, ensuring no traces are left behind. You should also clean and disinfect the removable shelves of the incubator in the same manner. Clean the exterior of the incubator, too, especially the areas which are touched most frequently (handles and doors). Be careful when cleaning the exterior of your incubator, taking care to avoid contact between electrical outlets and assemblies (especially if using a spray). As previously mentioned, if your incubator supports an automatic disinfection system, ensure this is utilised. When running the program, it is best to remove the HEPA filter connected to the unit, run the disinfection program overnight, and reattach the HEPA filter once complete. If you are unsure if your incubator supports this program, please refer to your user manual. If you still cannot find this information, please do not hesitate to contact us at support@ivfsynergy.com, and we will assist you.
Annually:
Your incubator should be serviced every 12 months. For information as to what this entails, or you would like to arrange for us to service your equipment, please contact us at service@ivfsynergy.com
Replacing the HEPA filter:
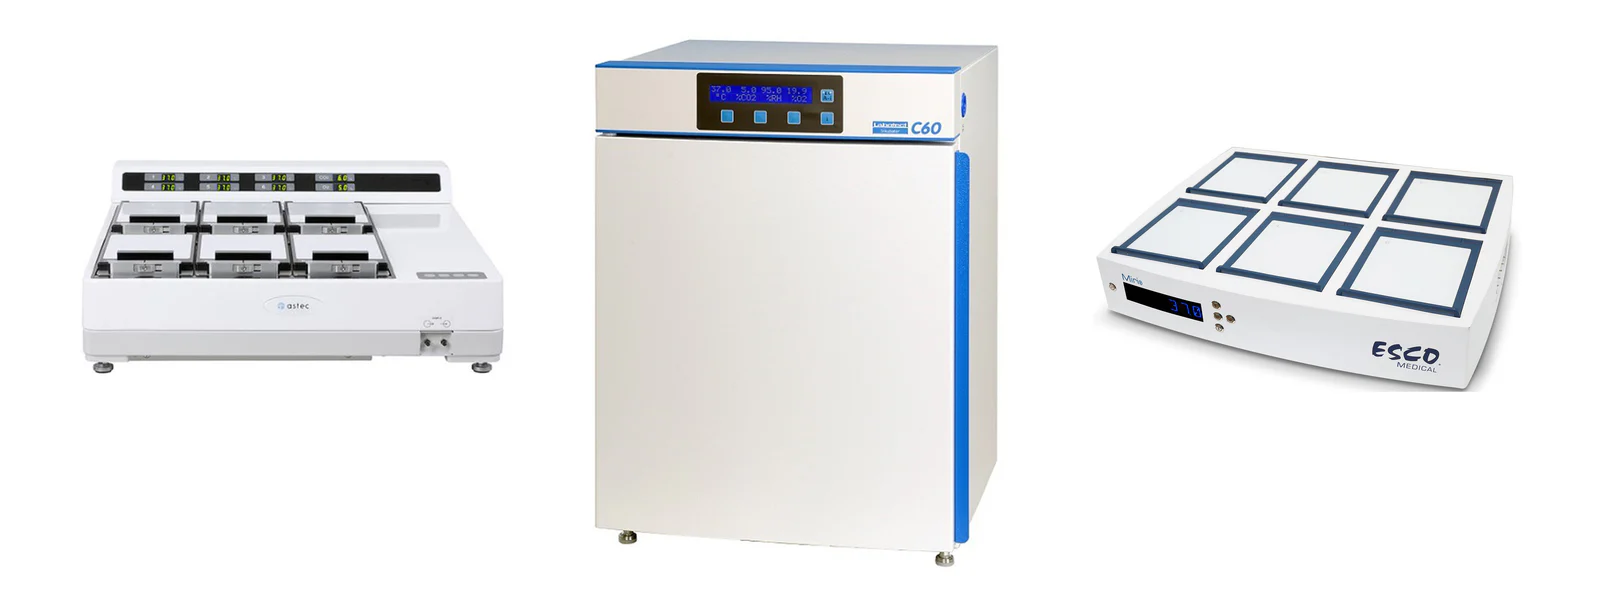
HEPA filters should be replaced every 3 months (Labotect, Esco, Astec) and every 6 months (Oosafe). In-line gas filters are extremely important in maintaining clean airflow to your incubator and reduce the risk of harmful VOCs negatively impacting the development of your embryos. Please contact us via our support email listed above if you would like to know more about the range of in-line gas HEPA filters we stock.


Very Interesting, Good job and thanks for sharing such a good information..https://www.gaiascience.com.sg/
Thanks for the information.
Leave a comment